Tutorials and Downloads
Here you will find a variety of exciting tutorials and downloads that will help you assemble different 3X3 components. Do you have any questions? Feel free to contact us, we are happy to help you.
Contact
Rotary Shift assembly tutorial

Mounting the brake disk
You will need a torque wrench (4-6Nm) and the accessories supplied by us to install the brake disk.

Mounting the switching control unit
You will need a torque spanner (4-6 Nm) to fit the gearshift control unit.

Mounting the axle plate
You will need a torque spanner (4-6Nm) & the appropriate axle plate to fit the axle plate.

Fitting the pulley / sprocket
You will need a torque spanner (40Nm), a BSA bottom bracket tool & a chain whip or belt tension spanner to fit the chains or sprockets.

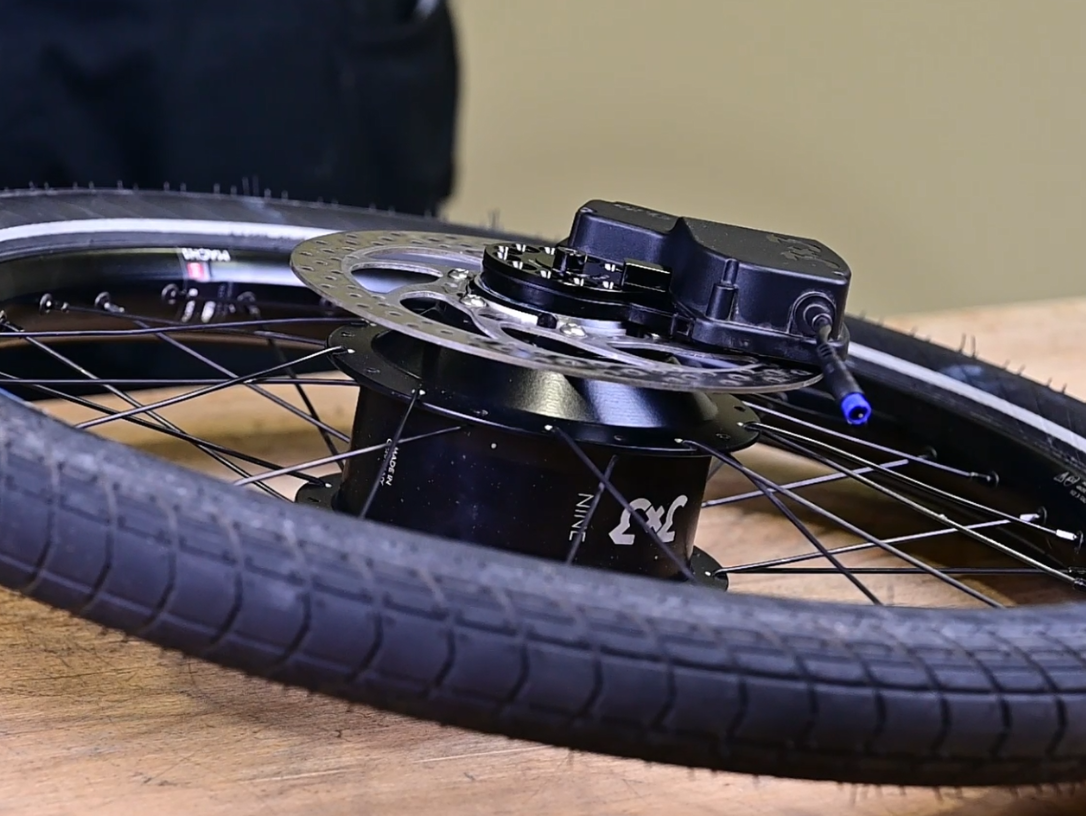
Mounting the wheel
To install the wheel, you will need a torque spanner and the torque specified by the bicycle manufacturer for the axle.

Mounting the rotary shift
You will need a TX10 screwdriver and two 1.2 mm thick shift cables to fit the twist shifter.

Installation and adjustment of the cable box
To fit the cable box, you will need a side cutter, a 2 mm hexagon socket and a cable tensioner.

Wheel removal and installation with rotary shift
This video explains the removal and installation of a rear wheel with 3X3 rotary shift set up
E-Shift assembly tutorial

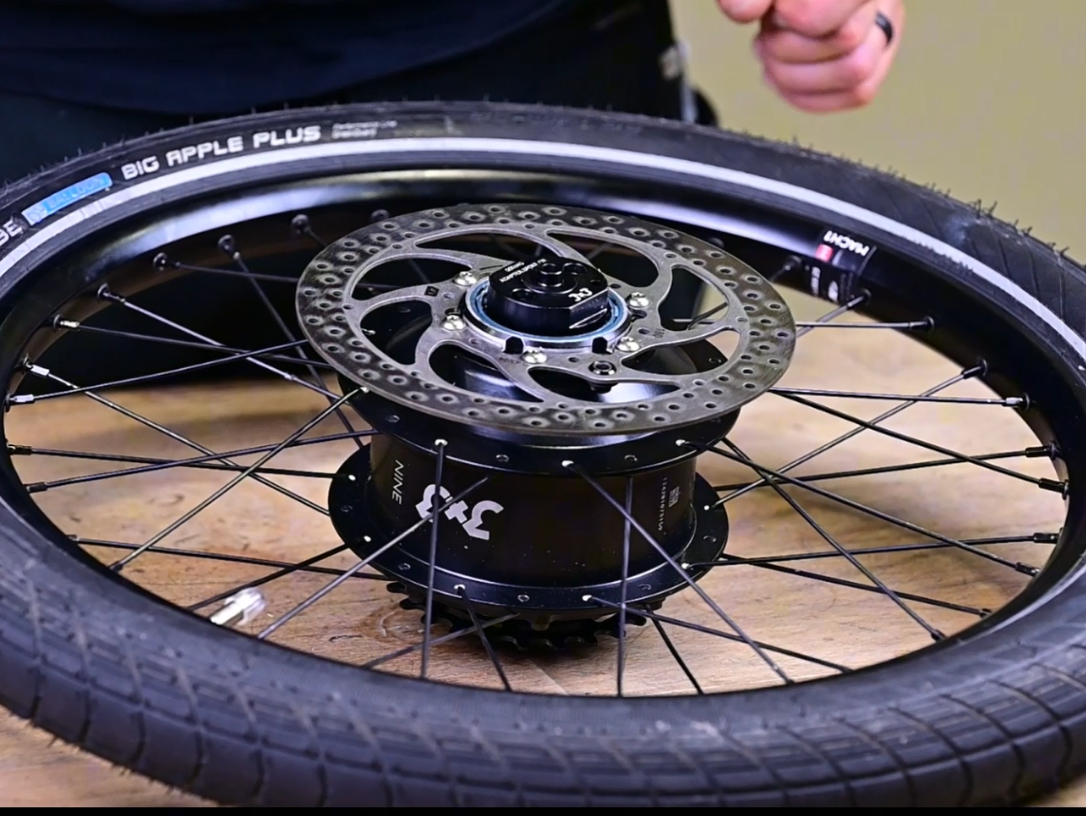
Mounting the brake disc
The following tools are required: a TX25 Torx key, a torque wrench with a working range of 6 Nm, screws with medium-strength threadlocker, a lint-free cloth, and a degreaser or brake disc cleaner that evaporates completely.

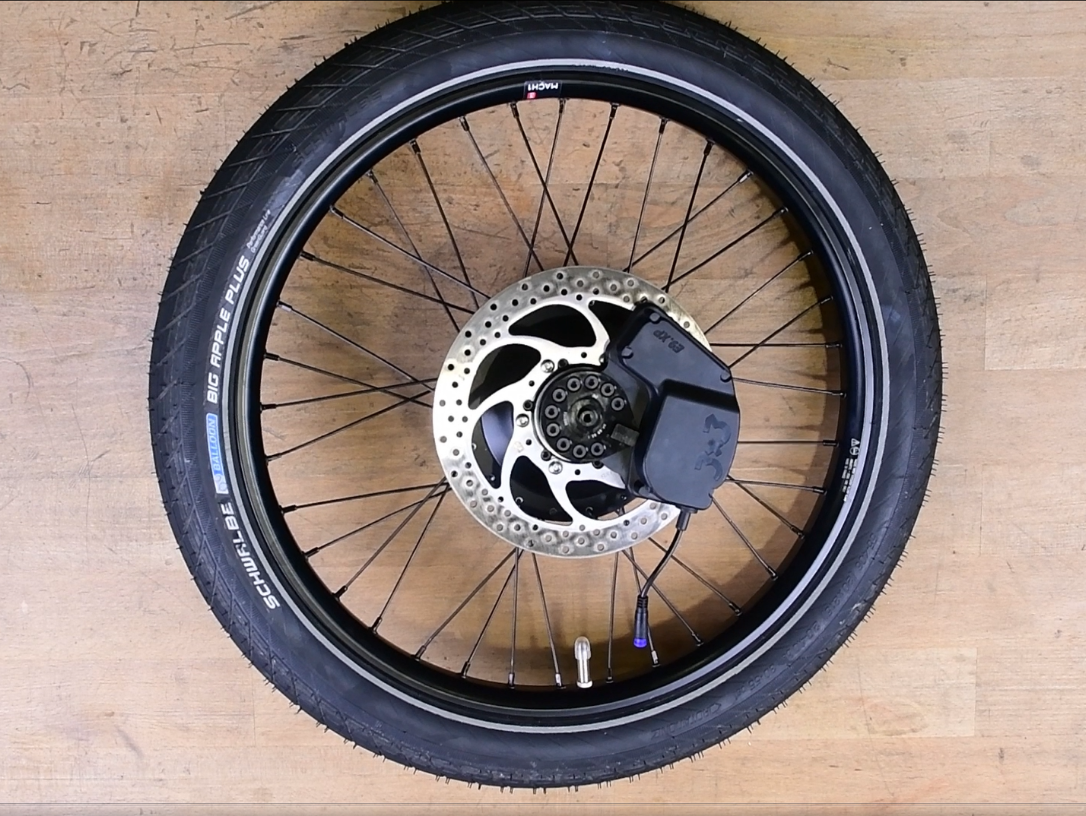
Mounting the actuator
The following tools are required: a TX20 Torx key, a 17 mm socket, a torque wrench with a working range of 3 Nm, and grease.

Mounting the axle plate
The following tools are required: a TX20 Torx key, a torque wrench with a working range of 4 Nm, and medium-strength threadlocker.

Fitting the sprocket/belt pulley
The following tools are required: a chain whip for installing sprockets, or a strap wrench when installing belt pulleys, a lockring tool, a torque wrench with a working range of 40 Nm, and grease.
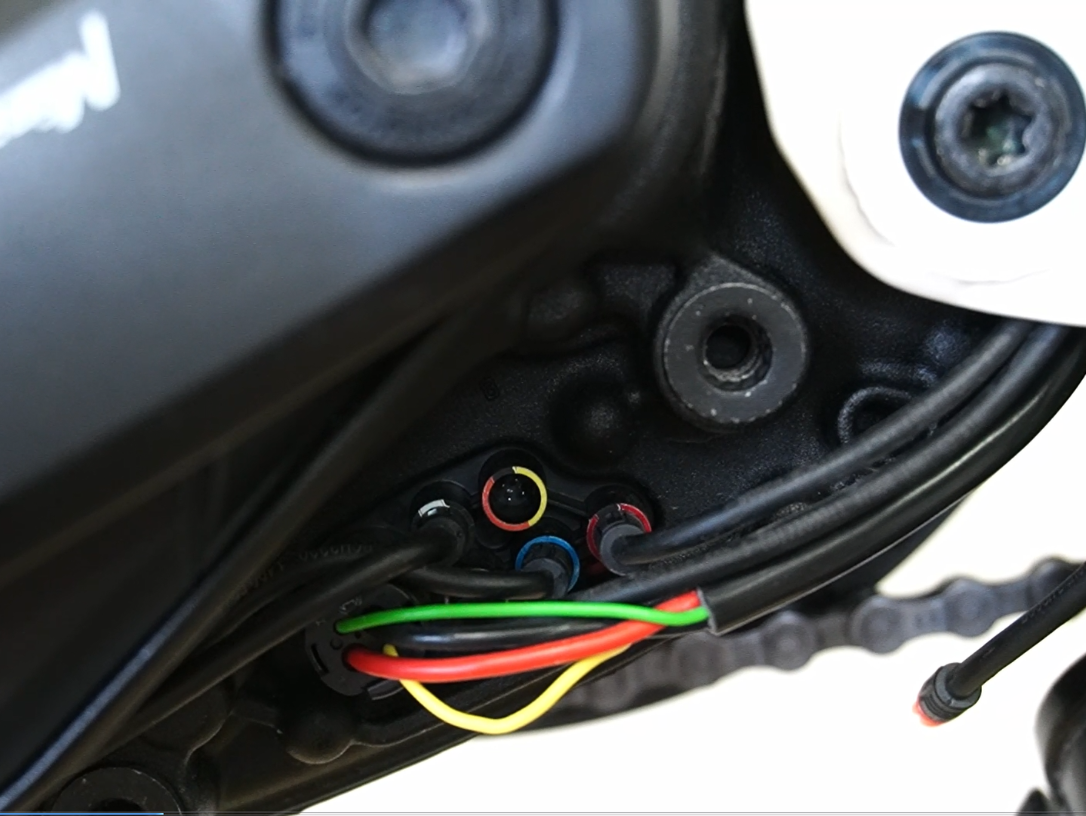
Mounting the wiring on the motor
To combine the E-Shift with the motor, you need a special cable which is plugged into the high power port.

Mounting the E-Shift trigger E.TR.ADJ
The following tools are required: a 2.5 mm hex key, a TX25 Torx key, a torque wrench with a working range of 1 to 5 Nm, a suitable object to open the cover compartment, and assembly paste if necessary.

Mounting the E-Shift trigger E.TR.CMD
The following tools are required: a 1.5 mm and 4 mm hex key, a torque wrench with a working range of 3 Nm, a suitable blunt object to open the cover compartment, and assembly paste.

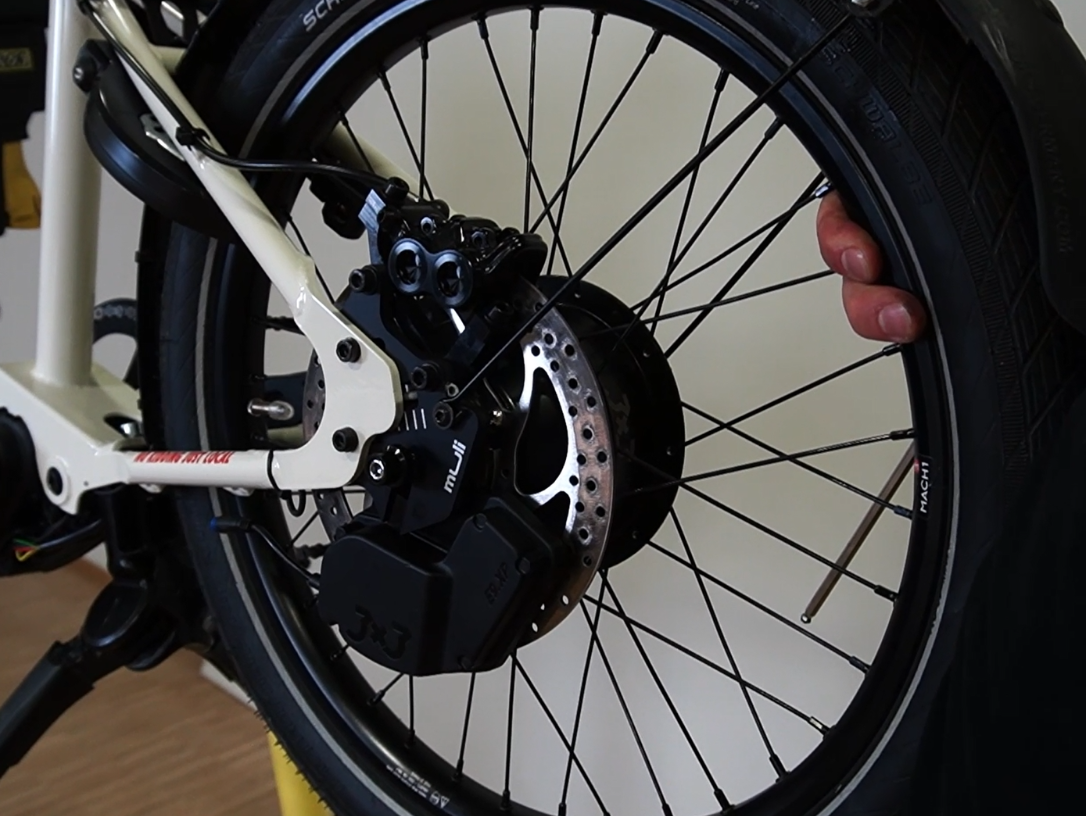
Wheel removal and installation with E-Shift
This video explains the removal and installation of a rear wheel with 3X3 E-shift set up
Wheel installation
In addition to the bicycle manufacturer’s specifications, the following points must be observed:
Grease the axle plate and the quick-release skewer or the thru-axle with Gear Grease.
Changing the installation width using a lacing adapter
The following tools are required: an adapter for spoke installation, an adapter tool, a 24 mm socket, a torque wrench with a working range of 2 Nm, and a torque wrench with a working range of 40 Nm.
Actuator replacement
The following preparatory steps must be completed: Shift the gearbox hub into first gear.
Disconnect the cable connection at the actuator.
Remove the wheel, observing the manufacturer’s specifications.

Drive sprocket replacement
Brake disc replacement

Gearbox package replacement
The following tools are required: a TX20 Torx key, a torque wrench with a working range of 2 Nm, brake disc cleaner, a lint-free cloth, threadlocker, and grease.
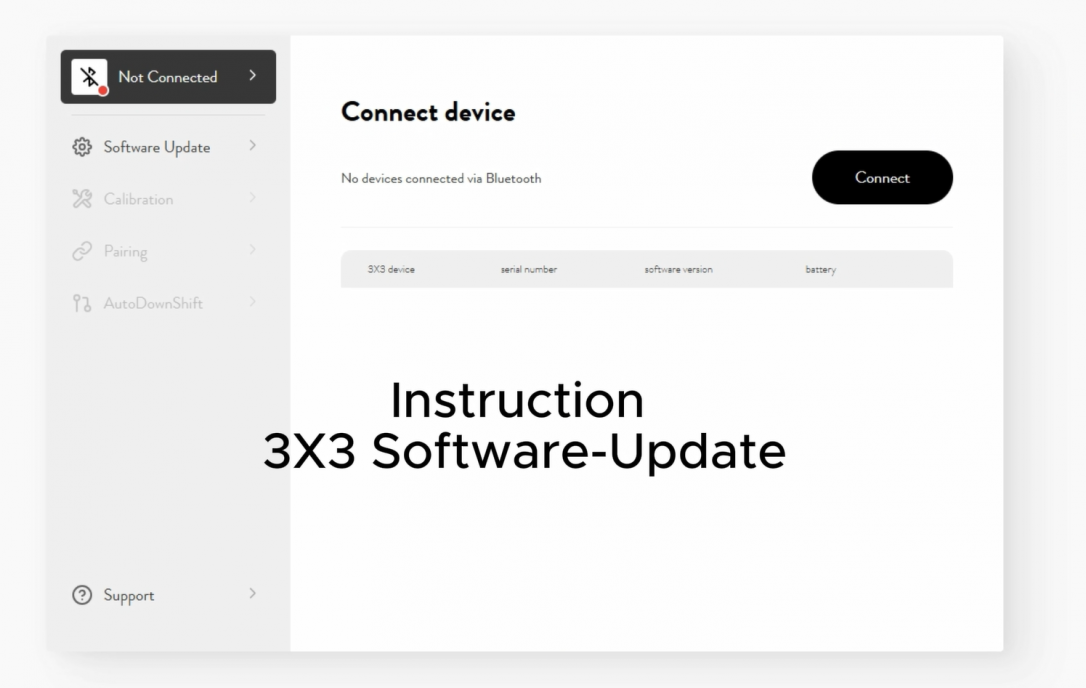
Instruction Software-Update 1.8.6; status 16.7.26
Performance Update for your 3X3 E-Shift. Great shifting performance doesn't happen by chance - it's something we continuously refine.
With our latest software update, we've further improved the shifting performance of our 3X3 gear hubs, delivering even smoother and more precise gear changes.
Handling 3X3 Servicetool

3X3 Servicetool
This video explains the 3X3 Service Tool and its application in combination with the 3X3 E-Shift system.
Downloads
Downloads for OEM
This area for OEM is protected and requires a password to access the downloads. If you do not have a password, please contact us here and we will check if we can provide you with one.
Downloads for dealers
This retailer area for ‘3X3 Service Hubs and Dealers’ is protected and requires a password to access the downloads. If you do not have a password, please contact us here and we will check if we can provide you with one.